I’ve been busy making cards and enjoying the almost daily “weather” we’ve had during July and August. Not as much rain as I’d like…but I do love the clouds, and the thunder and lightening shows.
My Love From Lizi August kit had an unfortunate accident during it’s trip “across the pond”. So photos of what is in that kit will have to wait until the replacement kit arrives. I love card challenges though, and the theme this month is “Magpie Supples”. Magpies love shiny objects…who doesn’t? So I have rescued a bit of the wonderfully shiny paper in the kit and made a few cards. The first card for the challenge I decided to use handwritten quote for the sentiment. It didn’t photograph as I had hoped it would. So I redid the card, using a printed version of the sentiment.

The paper is mirrored gold and it’s a lovely paper! So here is the second version. As you can see, the printed sentiment reads much better. As you can see I redid the background using oxide distressed inks, spritzing with water to increase the texture. I also added some of the sequins that came in the kit, and put a single drop of Nuvo gold glitter drops in the center of each for added sparkle and shine. Since magpies gather shiny things in hope of attracting a mate…I think the Emily Dickinson poem “Hope” is perfect! The rest of the first verse : “And sings the tune, without the words, And never stops at all.”

Most of the papers in the damaged kit had a coat of embossing powder, which I could not just wipe away because the gilded papers were so delicate. There was also tears and hand prints…which leads me to think that someone, perhaps at customs, realized the package was damaged and open it to see what was in it. I don’t know how else to explain the handprints. The Nuvo drops in the kit was also damaged…and so there was a great deal of dried media spread throughout the kit box. So, the stamps, some of the embellishments and bits and pieces of paper, and card number two appeared.

I stamped the beveled star ring is a very nice stamp! I used rose embossing powder on the popped up ring, and white embossing powder on the rings stamped on the pink card stock. I added some pink translucent Lizzi pull offs, from the June kit, across the bottom and up the left of the design…and then also to some of the long lines on the white cut out ring. Next I added vellum to the middle. I made a small pile of shaped and colorful sequins from my stash, and “caught” them with the foam tape as I popped up the white ring to make a shaker card. And finally I stamped, and embossed the the sentiment in white.
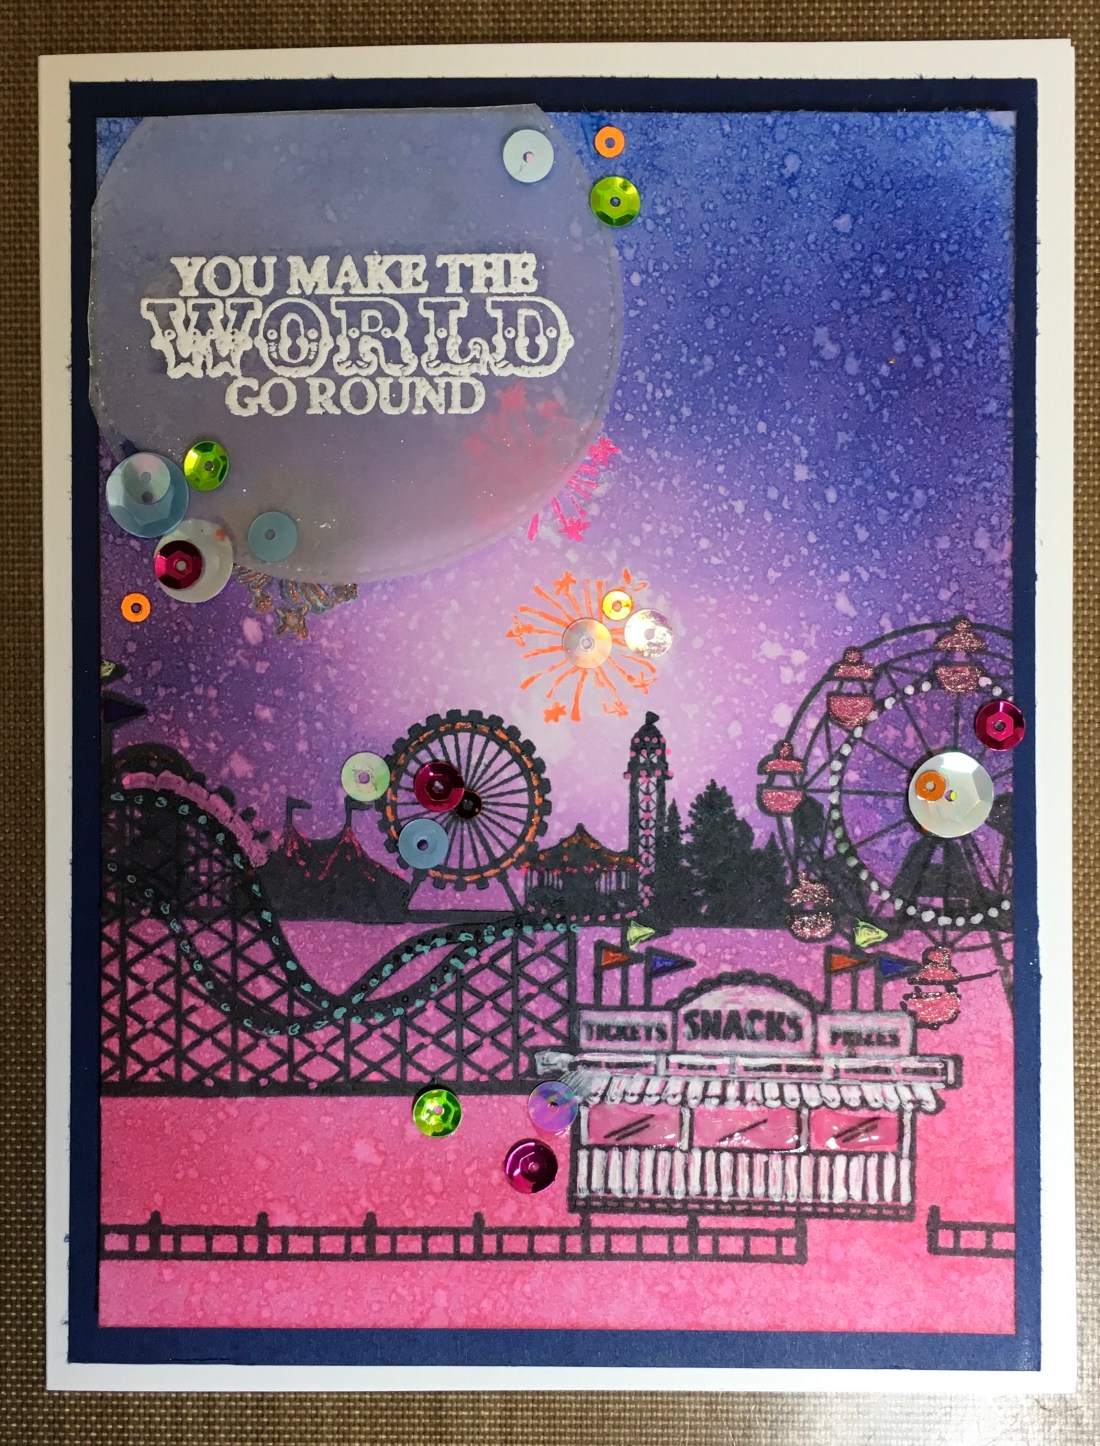
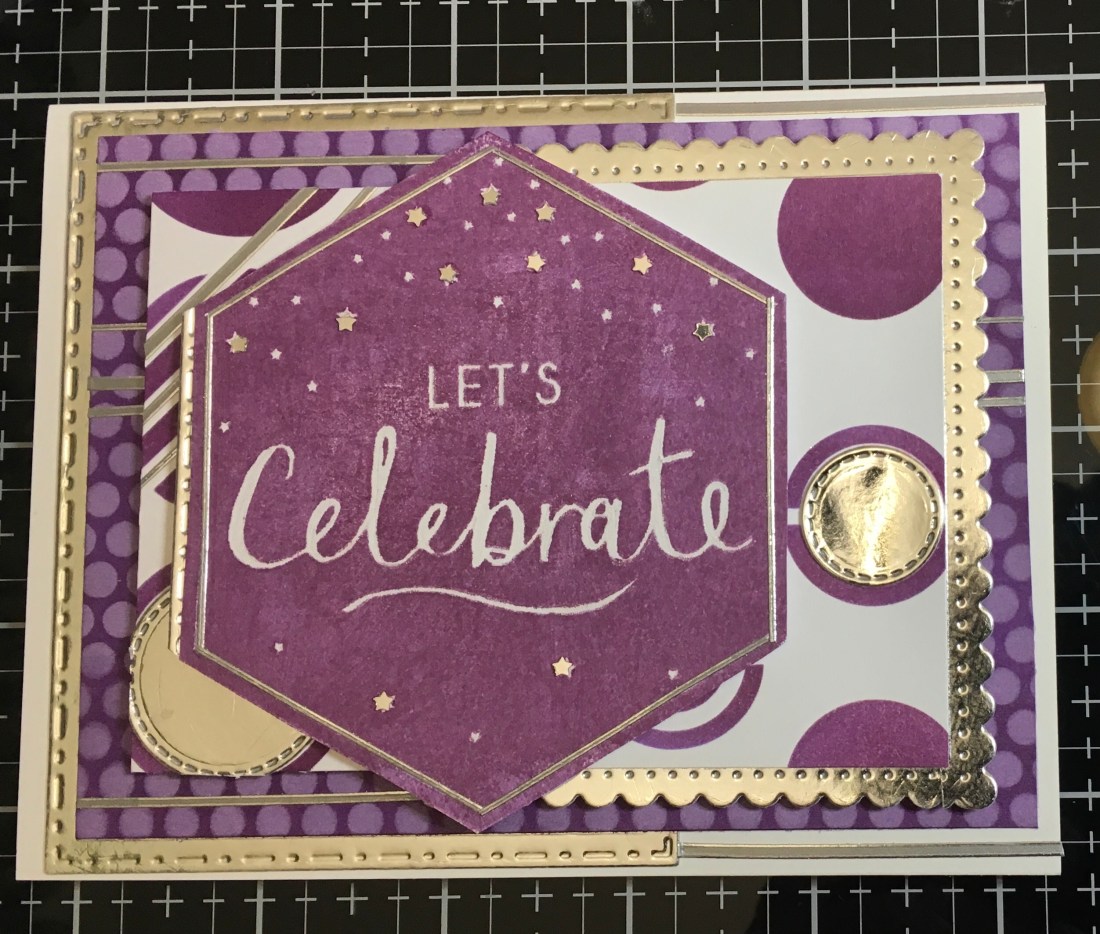
The next four cards came about during a storm when I was waiting for the power to go out late one night. I stamped the large Celebrate stamp from the kit, with lavender distressed oxide ink…which was quite pale. So, it became a series of four, as I layered other colors to see what shades of purple I could develop. Each color got it own design, developed using the stencil from the kit.
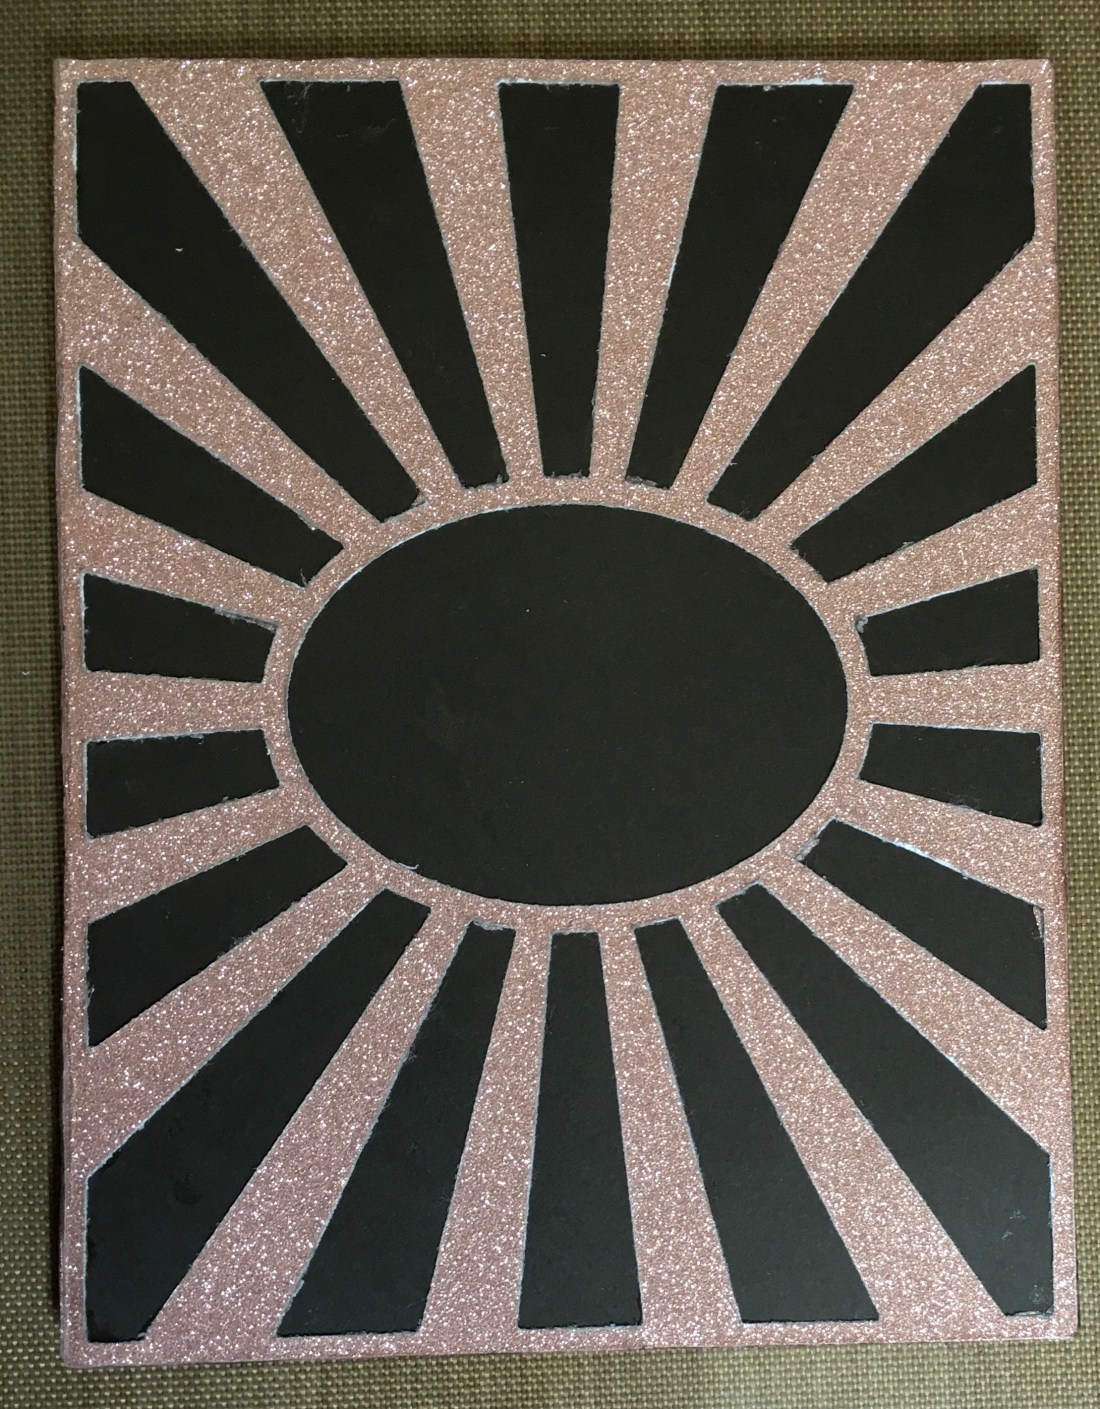
For the first card, I fussy cut the circles from the stencil, adhered them to some black card stock from my stash. The silver glitter Lizi pull offs were added after the circles and then the circles also received a line of sparkle. A popped up the large stamp with foam tape, added a couple of mirror tiles from the kit, and some of the tiny star sequins, and card four was finished.

In developing this series. I actually colored the stencil with the four color variations at the same time I was inking the Celebrate stamp. When viewing the cards with the eye, the stamp is the same color as the stencil portions. But, the camera picks up more than the eye…and so you can see color variations.
For card number five, I wanted to use a piece of purple card stock for one of the layers…so I layered the ink until it “looked” like the card stock. In the photo there is a quite a difference in the color of the ink and the color of card stock. I also made use of the variation of the sizes of circles on the stencil. So this card has large or small purple shapes, and the purple card stock, stamped in Hero’s unicorn white, uses the opposite sizes of circles (large under small, or large over small) depending on what was stamped on the middle layer. I cut a stitched frame out of silver mirrored card stock from my stash, and some circular stitched embellishments for the middle layer. I added faux stitching to bottom layer (that was cut with out the benefit of a stitched die), and popped each layer up with foam tape. Finally, some silver start sequins and silver Lizi pull offs to embellish the large Celebrate stamp and number five was complete.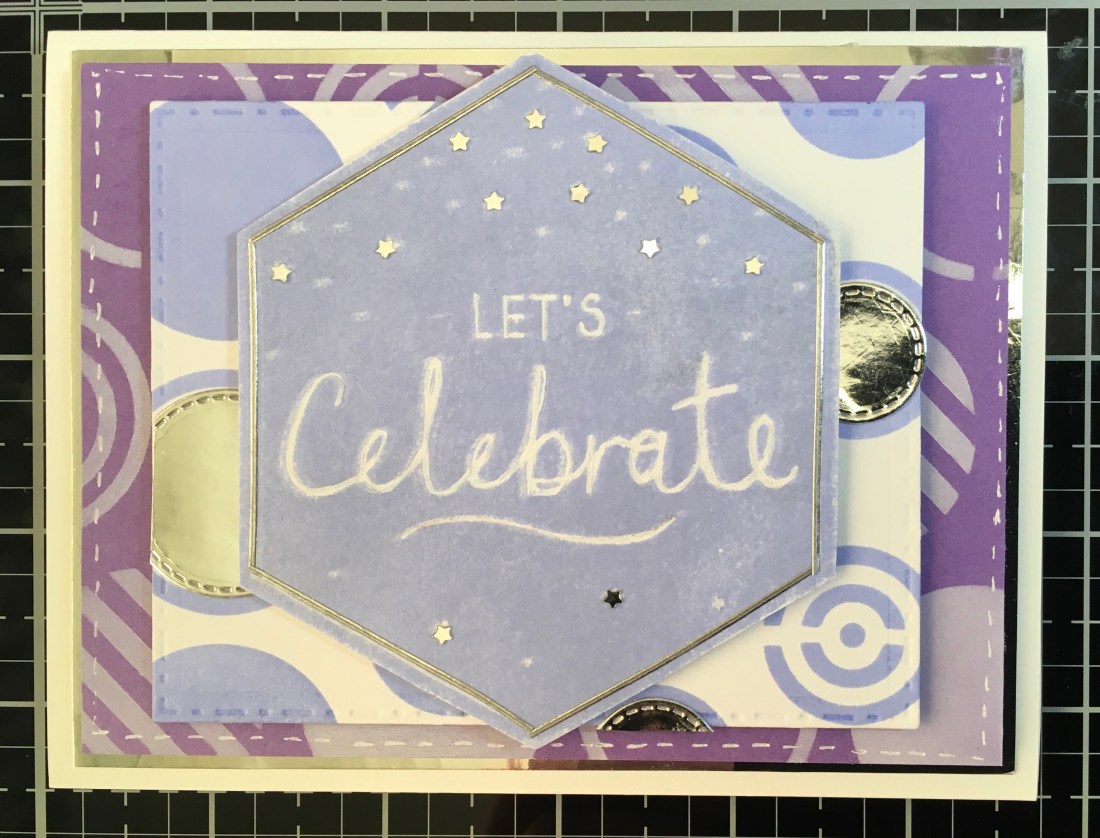
For card number six, I layered the lavender distressed oxide with Hero’s reactive blue. There are several layers of each color, but the blue being the top color, photographed without much of the lavender showing through. For this card I rescued a bit of the damaged paper from the kit and colored it to match with the same inks. I used a stitched frame die to create a mirrored silver frame for the middle layer, and mimicked the lines from the beveled star stamp with silver Lizi pull offs. I was able to disguise the most damage area of the dotted paper, but in photographing the finished card, some of the damage was still visible, so I off set the layers. The Celebrate stamp layer is embellished with more silver pull offs and silver star sequins. Yes I fell in love with those tiny stars! I enjoyed the variation of graphic shapes in this series. This card has repetition of shape, and much more extreme variation of size, as well as the variation in negative space on the embellished paper layer.
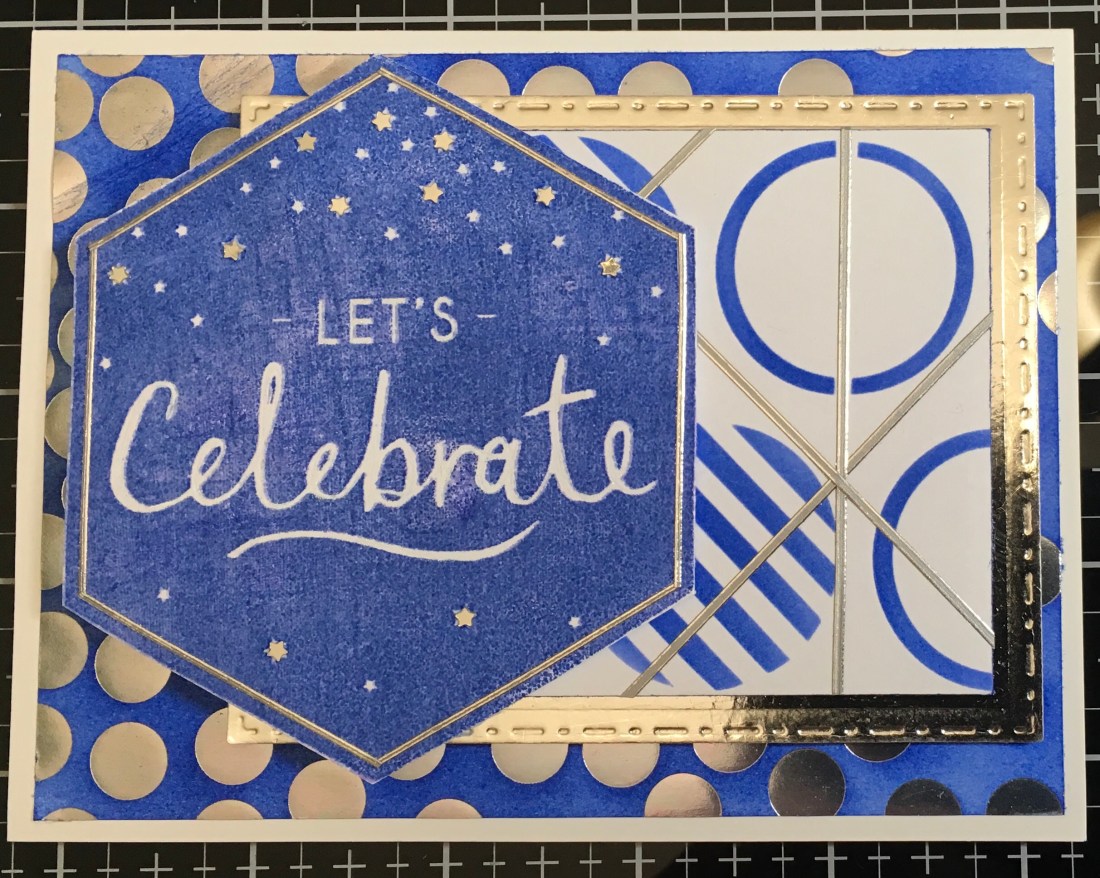
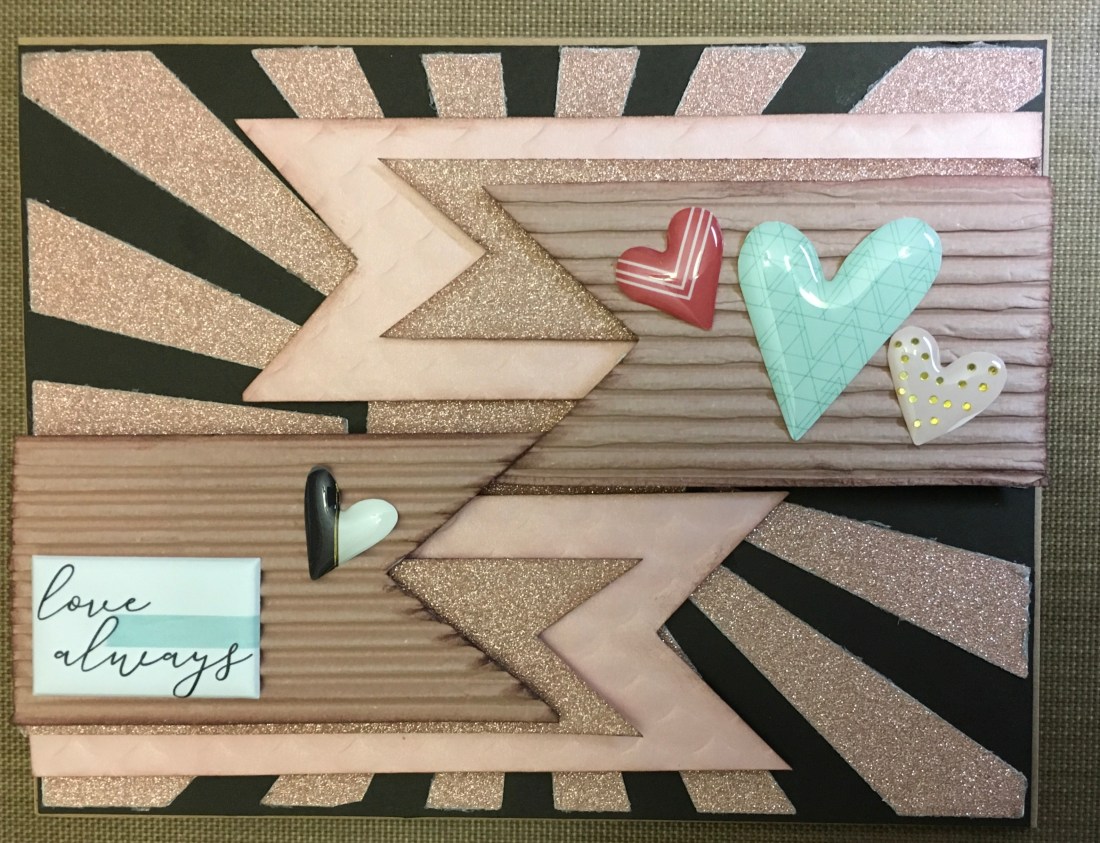
Card number seven was so much fun! I used a piece of the metallic ribbon from the May kit as a stencil to create yet another variation for the background layer. I varied the frames, using different dies for the two framed layers….each only a half frame…and silver lines running from the frame edge. On the lower lever there is a pattern area of silver horizontal lines. On the middle level there is a pattern area of diagonal lines (after all…all good designs include a diagonal line…lol). On the Celebrate stamp layer, the silver lines run around the hexagon, with only the left side framed. Silver star sequins and stitched edged circles embellish the layers.

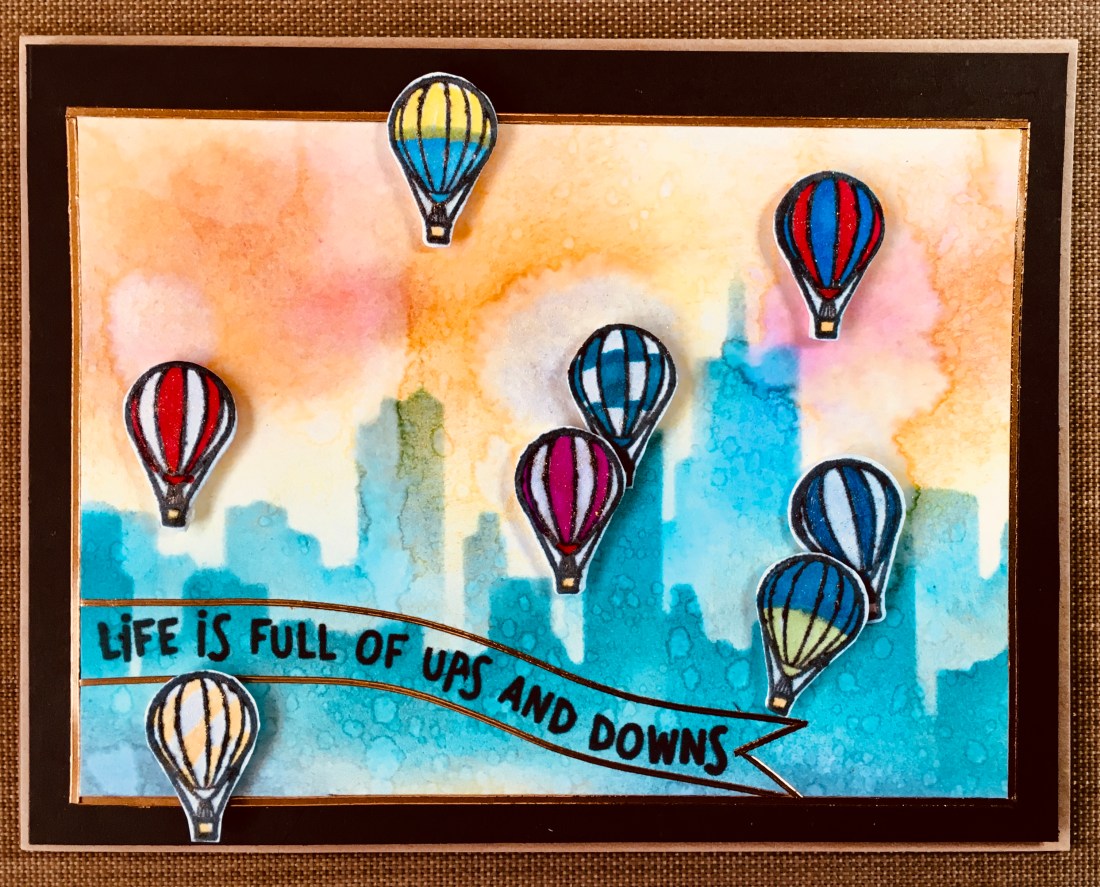
Twinkle, twinkle, little star…Do you know how loved you are? For card number eight I stamped the star ring three times, and heat embossed them with black. I started with my softest gray Bianyo alcohol ink pen, adding dimension to the stamped images, and thinking I would make a black, white, and silver card. The soft gray was not enough color, and very soon the three rings had taken on the color of three of my favorite diamond colors…yellow, blue and pink. I split the rings to layer them, and embellished them with some translucent Nuvo glitter drops. A few lines of black glittered Lizi pull offs line the left side and the bottom of the card. One of the silver metal charms floats in the center ring. I added a few silver star sequins for embellishments. Twinkle sentiment from the stickers.
It was a lot of fun to explore the graphic properties of the stamp, stencil, and papers. And while I was typing I received a text saying that my Lizzie kit is at the post office and ready for pick up! I can’t wait!